Making videos is fun, but if it’s your first time, it’s good to have some help. The aim of this guide is to help you produce a short science or STEM (Science, Technology, Engineering, Mathematics) video in four simple steps:
When you are finished you can use our online application form to send us your video. You’ll also find some information below on what our judges are looking for and how they will be assessed. Check out our YouTube channel to see previous years’ videos!
You can download this entire How To Enter ReelLIFE SCIENCE Guide, while there are also separate step-by-step animation, video editing and YouTube upload guides below.
Step 1: Choosing Your Topic
Your ReelLIFE SCIENCE video can be about any science or STEM-related topic. To give you some inspiration, we’ve suggested ten different themes for you to explore:
- Climate Action
- Emerging Technology
- Engineering Marvels
- How Things Work
- Myths Busted!
- Science and Me
- Science Heroes
- Science in Space
- Science Song
- Marvels of Medicine, in association with CÚRAM
Discuss the themes with your teacher/youth worker or family and friends to see what might interest you and help you select a topic. Maybe you’ve always wanted to find out how DNA is used to solve crimes, why we love foods that are not healthy for us, or who discovered penicillin. You might like to demonstrate an experiment (explaining the science behind what you observe, of course), describe the amazing technology we use every day or explore new technologies. You may even want to write a science song!
If you pick a topic you’re really interested in, that passion will shine through on camera!
Any aspect of the topic may be communicated by your video, so be creative and original but don’t try to cover too much – you only have three minutes! Use this handy ReelLIFE SCIENCE brainstorm sheet to explore your chosen topic and find a manageable subject for your video.
The Marvels of Medicine topic can be about any aspect of medicine or health, and our good friends in the CÚRAM Research Ireland Centre for Medical Devices have provided additional information, activities and lesson plans about their biomedical research, which may inspire you to explore The Heart, The Brain or even Stem Cells.
Step 2: Choosing Your Style
Next, you’ll want to decide how your video will look and feel. Will it be live action or animated? Humorous or more serious? Will it take the form of a demonstration, an interview or even a song?
What’s the best way of getting the information across to the viewer in a memorable way?
Remember you have the advantage of using a visual medium, so feel free to dress up, draw, demonstrate, animate, sing, play, experiment, interview, build and recruit friends, family or whatever you need to tell your story. Be enthusiastic about your topic and try to have some fun!
Using a storyboard can be a great idea, to plan what will be seen at all stages of the film.
Above is a highlights reel of videos produced for ReelLIFE SCIENCE over the past few years, to give you an indication of the different styles and approaches taken by filmmakers. You can also view all of the winning videos from previous years on our YouTube channel.
Try to avoid presentation or slideshow style videos with lots of text and/or images as these are rarely as engaging as those with someone on screen. Or use a split screen so the presenter and the text/images can be seen at the same time.
Step 3: Making Your Video
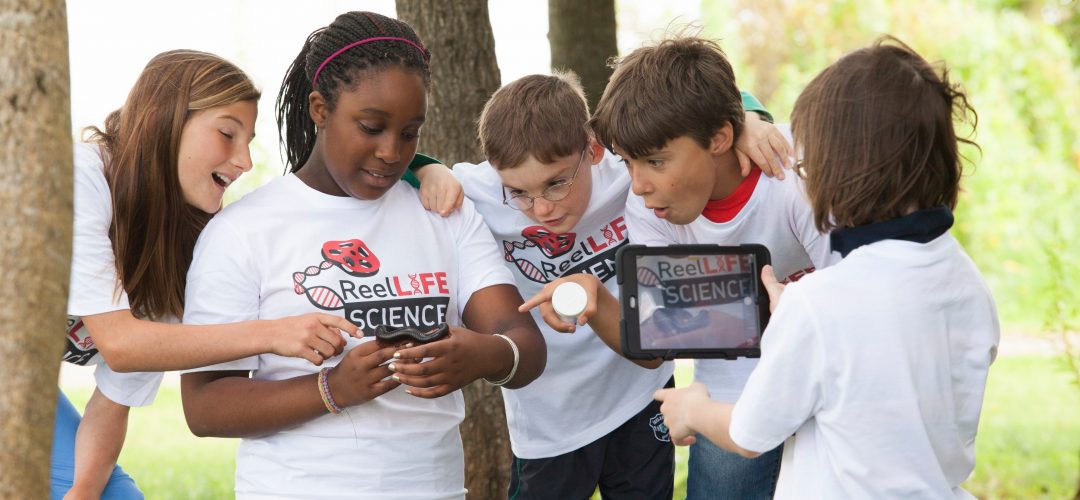
Film the video using whatever device you are most comfortable with and have access to, whether it’s a smartphone, tablet or camera. Just make sure you film it in landscape orientation (i.e. sideways like in the photo above), rather than portrait, so it looks well on the big screen!
Below is our step-by-step guide to using some common filming equipment, including tripod, video light, microphone and phone/tablet adaptor.
Through a partnership with the Foróige Digital Libraries scheme, ReelLIFE SCIENCE has placed AV kits containing these common filming equipment items in over 30 libraries in 16 counties around the country. Schools and groups participating in ReelLIFE SCIENCE can borrow these kits from their library to help them become the filmmakers of the future! Check out the table below to see if your library is listed!

Top 5 Tips for Filming
- Ensure you have plenty of storage and battery power before starting.
- Use a tripod to keep your camera still (or rest it on something steady)
- Zoom with your legs, i.e. move towards your subject.
- Avoid distracting backgrounds.
- Clean your lens.
You can also submit an animated video. There are lots of free animation software packages online (click here for our step by step guide to using Wick Editor) and for your smartphone. You could use stop-motion techniques to animate modelling clay, toys, puppets or drawings. If you are using stop-motion, a tripod is really useful to keep your camera steady.
Getting the sound right can be one of the most challenging parts of film-making.
Sound quality is crucial to good video, and judges and viewers are more likely to forgive poor image quality over audio quality. Sound quality can often be poor if you are filming outdoors, particularly on windy days, and can negatively impact otherwise excellent video footage. After recording, if you think the sound quality is poor, consider recording a separate voiceover indoors using your video camera or phone voice recorder and adding it to the video afterwards – or add subtitles. Speak loudly and clearly, so all of your science knowledge can be heard!
Pro Sound Tip #1: many wired earphones come with a microphone attached and can be used inside your clothing for better sound outdoors.
Pro Sound Tip #2: record your voiceover under a sheet or blanket to avoid echoes on your indoor recordings!
Videos can be made in English, Irish or even using Sign Language, although you may wish to consider including English subtitles during editing (or when uploading to YouTube) to appeal to a wider audience, particularly internationally.
If you are using a tablet or smartphone, you can simply use its own video editing software or download an app to join your clips together, add images, subtitles, music, sound effects, a voiceover or even credits (click here for our step by step guide to using VN Video Editor). If you use a camcorder or digital camera, you will probably need to upload your video to a computer, which will come with its own editing software or you can search online for a free software package to use.
Make sure everything in the video has been created by you!
You cannot use any copyrighted material in your film without permission, such as video clips (TV, movies, online videos), images, music, sound recordings, etc. When you upload your finished video to YouTube for submission to ReelLIFE SCIENCE, your audio track may even be removed if copyrighted material is detected by YouTube. For more on YouTube’s copyright policy, read here. Thankfully, YouTube has a large catalogue of free music and sound effects for you to use with your video.
Remember to keep the video length between one and three minutes as longer videos may be penalised during judging. This is where the use of a storyboard in the planning phase can really help!
Get parental consent for any children (under 18) identified, appearing or participating in the video, ensuring that parents or guardians are fully aware of the nature of the competition, and the subsequent use and display (including online and at public screenings) of the video entries by ReelLIFE SCIENCE, University of Galway, our partners and potentially the media and general public (e.g. sharing the videos via Facebook, Twitter, etc.).

Step 4: Submitting Your Video
To submit your video, you will need to first upload it to YouTube (click here for our step-by-step guide to uploading your video to YouTube) and send us the link via our online Application Form before the submission deadline ofOctober 9th 2026.
Pro Tip: If you use a catchy title for your video – e.g. something you might search for on YouTube – you are likely to get more views for your video, than with a generic video name.
It is really important to note that Video Privacy Settings should be set to ‘Public’ so your video can be viewed by our judges and the general public. You can find lots of additional information in the YouTube Help Centre about privacy settings, how to upload videos, supported file formats, etc.
After judging, you are free to remove your video from YouTube if you wish, as the video still remains yours. However, if your video is shortlisted, we will need a high quality copy of the original video file (to upload to the ReelLIFE SCIENCE YouTube channel and for public screenings and promotion).
Multiple videos can be submitted by schools and groups, but each one must be submitted individually. You can read about ReelLIFE SCIENCE’s Data Protection Policy here.
Click the ‘Parental Consent received‘ tickbox, to acknowledge that consent has been received for all necessary participants, as outlined above. Completed consent forms do not need to be submitted to ReelLIFE SCIENCE, but to complete the application process you must acknowledge that, where required, they have been completed and received.
Click the ‘Agree to Terms & Conditions‘ tickbox, to acknowledge that you have read and agree to the competition Terms and Conditions.
After you click submit, you should receive an acknowledgement message sent to the email address you have provided. After the competition, all participants will receive a Certificate of Participation to download and print.
Video Judging
Videos will be judged by a team of scientists and science students, and subsequently a panel of external judges, on three criteria:
Scientific Content – How effective is the video at explaining the scientific concept or experiment on display? How accurate is the science? Does it appear that the topic was well researched and understood? Will a member of the public learn something new from the video? Could a teacher use the video to explain the topic to their own class?
Production – How does the video look and sound? How would the video look on TV or screened for the public at a public event? Can everything that is being said be heard clearly? Is the video longer than three minutes? The effort that has been put into preparing the video, e.g. props, costumes, locations, animation, will also be considered here.
X-factor – Does the video “wow” in some way? Was it entertaining and/or impressive? Was there something about the delivery, the methodology etc., which stuck in the mind afterwards?
Winning videos will be announced in November at the Galway Science and Technology Festival and you can keep up-to-date via our X, Instagram and Facebook pages.

